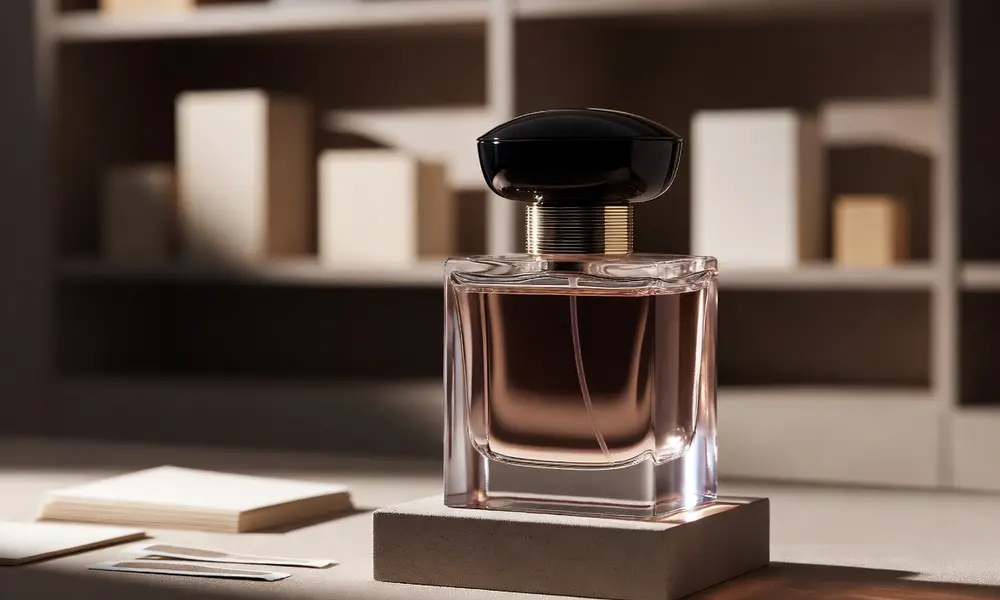


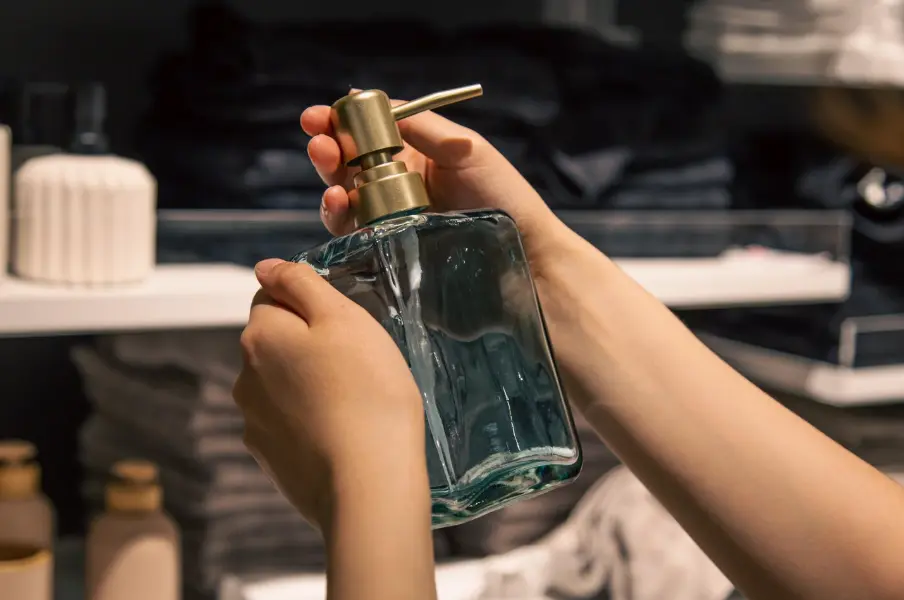
Your favorite $200 cologne is sitting almost empty on your bathroom counter. The scent is discontinued. Maybe it was a gift from someone special. Buying a new bottle is not always an option.
Refilling it is. But get it wrong and the glass neck cracks. The bottle is gone for good.
That is exactly why knowing how to refill a perfume bottle properly matters. One wrong move on the wrong collar, and it is over.
This guide covers every bottle type, every tool, and every step. So nothing gets wasted, cracked, or ruined.
If you’re in a hurry…..
Remove the spray cap, open the bottle according to its type, lift out the spray stem, and transfer the fragrance using a small funnel or a syringe. That covers the basic perfume bottle refill process in short. Then reassemble.
Travel atomizers skip all that. Just press the source bottle nozzle onto the bottom fill valve and pump. Identifying your bottle type first is key to keeping it safe.
What You Will Need Before You Touch the Bottle
Having the right perfume decanting tools ready before you start makes the whole process cleaner and faster. Most of these items cost under $10.
Essential tools:
- Small perfume funnel (a narrow neck fits most bottles)
- Blunt-tip syringe or dropper (better control for small fills)
- Clean flat surface lined with paper towels
- Rubbing alcohol and cotton pads (for cleaning between scents)
- Your source fragrance and the bottle you want to fill
Optional but worth having:
- Rubber grip pad (for collars that will not budge)
- Small rubber mallet (taps crimp collars back without cracking them)
- Adhesive labels (helpful if you store multiple refilled bottles)
One safety note before you begin:
Fragrance is alcohol-based and flammable. Keep candles, stove burners, and lighters away from your workspace. Work near a window or in a ventilated room. Keep paper towels close by for any spills.
Which Type of Bottle Do You Have?
This is the most important step. Skipping it is the number one reason bottles get cracked. A crimp-top collar does not respond to the same pressure as a snap-on collar. Force the wrong one, and you risk snapping the glass neck entirely.
Crimp-Top Bottles
The metal collar sits flush against the glass. It does not twist or snap off. It was machine-pressed onto the bottle at the factory, so it feels completely locked in place. Brands like Dior, Chanel, and YSL use this style. It takes a flat tool and patience to open, not brute force.
Screw-Top Bottles
The pump collar has threading and unscrews counterclockwise, just like a bottle cap. This is the easiest bottle type to refill. If the collar rotates even slightly when you grip and turn it, you have a screw-top.
Snap-On Bottles
The collar clips into a groove around the bottle neck and lifts straight off with upward pressure. A rubber grip pad gives you enough friction to pull it up cleanly without scratching the finish.
Stopper Bottles
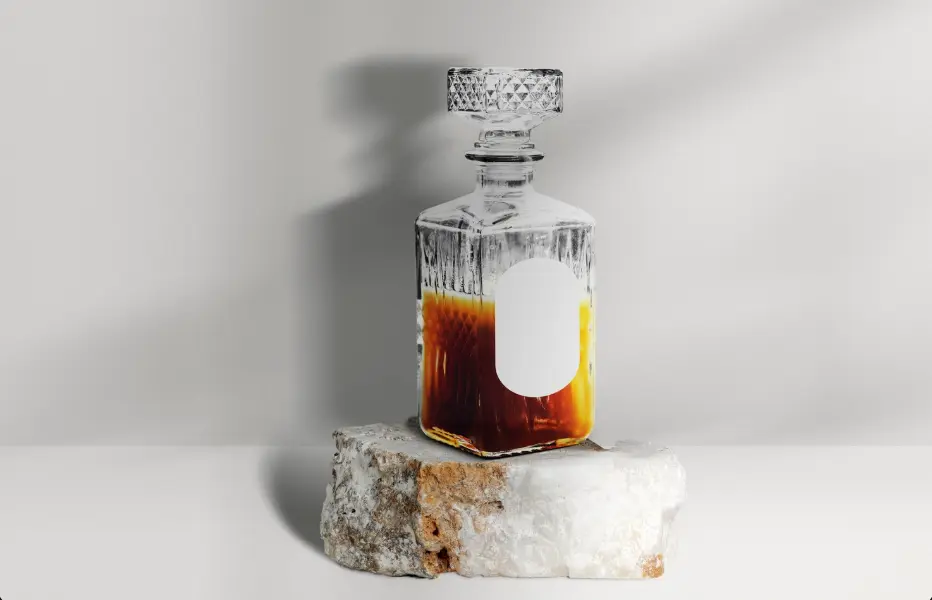
No spray pump at all. A cork or polished glass stopper sits in the neck. Found on vintage bottles, niche fragrances, and splash-format colognes. The stopper lifts straight out, and you pour straight in.
Travel Atomizers
No collar, no stopper, no disassembly. Most travel atomizers use a bottom-fill valve. Press your source bottle nozzle directly onto that valve and pump. Most hold between 5ml and 10ml.
Bottle Type Comparison at a Glance:
Bottle Type | Difficulty | Key Tool | How It Opens |
Screw-Top | Easy | Funnel or syringe | Twist counterclockwise |
Snap-On | Moderate | Rubber grip pad | Pull straight up |
Crimp-Top | Hard | Flat tool wrapped in cloth | Pry and rotate around the collar |
Stopper | Easy | Dropper or small funnel | Lift straight out |
Travel Atomizer | Easy | Just the source bottle | Press the nozzle onto the bottom valve |
How to Refill a Perfume Bottle at Home: 5 Simple Steps
Steps 1 and 2 depend on your bottle type. From Step 3 onward, the process is the same for all of them.
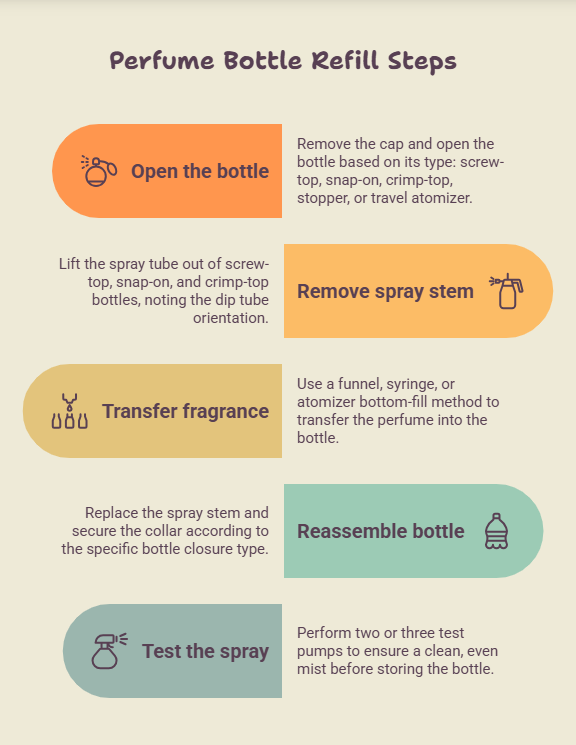
Step 1: Take the Cap Off and Open the Bottle
Pull the decorative cap off first. Then open the bottle based on its type:
- Screw-top: Turn the pump collar counterclockwise until it lifts free
- Snap-on: Press a rubber grip pad around the collar and pull straight up with steady, even pressure. No rocking, no twisting
- Crimp-top: Wrap a butter knife or the back of a spoon in a thin cloth. Slide it under the metal collar edge and work it loose by moving around the full circumference. Never pry at just one point. That is how glass necks snap.
- Stopper: Skip straight to Step 3. Lift the stopper out and set it aside
- Travel Atomizer: Skip to Step 3. Twist or pull off the base cap to expose the fill valve at the bottom
One thing is true for every bottle type here: slow pressure always beats fast force.
Step 2: Remove the Spray Stem
This step applies only to screw-top, snap-on, and crimp-top bottles.
Once the collar is off or loose, the spray tube lifts straight out. Before you pull it, look at which end points down into the bottle. That is the dip tube. It needs to go back in the same direction when you reassemble.
Lay the stem, collar, and cap on your towel in the order they came off. It makes putting everything back together much faster.
Step 3: Transfer the Fragrance
Knowing how to transfer perfume without spilling comes down to picking the right method for your bottle size. There are three ways to do this, depending on your bottle type and how precise you need to be.
Funnel method: Place the narrow end of the perfume funnel into the bottle neck. Tilt your source bottle slowly and pour at a low angle. This works best for larger bottles where speed matters more than exact measurements.
Syringe method: Draw fragrance into the blunt-tip syringe directly from your source bottle. Then inject it into the target bottle in small, controlled pulls. This gives you more control and is better for smaller bottles where every drop counts.
Atomizer bottom-fill method: Keep your source bottle perfectly upright. Press its nozzle firmly onto the atomizer’s fill valve and press down as if you were spraying. The fragrance flows in under pressure. Stop as soon as resistance increases or a small drop appears at the valve. That means the atomizer is full.
For screw-top, snap-on, and crimp-top bottles: fill to about 80-85 percent only. The spray stem sits inside the bottle, taking up space. A full bottle leaves no room for the pump to seat properly.
Step 4: Put the Bottle Back Together
Slide the spray stem back in at the same orientation it came out. The dip tube points down into the bottle. Then reposition the collar over the neck.
- Screw-top: Twist clockwise until it feels snug
- Snap-on: Press straight down firmly until you feel or hear it click into the groove
- Crimp-top: Place the collar evenly around the neck. Tap around the edge with a rubber mallet in small rotations. Even contact all the way around is what seats it properly. Tapping one spot repeatedly will tilt it.
Reattach the decorative cap.
Step 5: Test the Spray Before You Put It Away
Give it two or three test pumps over a paper towel. A good refill produces a clean, even mist every time.
A sputtering or uneven spray almost always means the dip tube is slightly off-center inside the bottle. Remove the stem, reposition it straight, and test again. Wipe down the outside of the bottle with a damp cloth, and you are done.
Mistakes That Ruin Bottles and How to Avoid Them
These are the errors that actually cost people a bottle. Worth reading even if you feel confident about the steps.
Mistake 1: Prying the crimp collar at just one spot puts all the pressure on a single point of glass. It concentrates the stress and snaps the neck. Always rotate the tool around the full collar.
Mistake 2: Filling past 85 percent leaves no room for the pump stem to sit inside. The cap will not close fully, and the seal will leak over time.
Mistake 3: Working near an open flame is a real safety issue, not a minor caution. The fragrance is alcohol-based and ignites. Keep the workspace clear of candles, burners, and lighters.
Mistake 4: Skipping the funnel clean between scents means that trace amounts of the first fragrance mix into the next. Even a few drops can noticeably shift the scent profile. This matters even more when switching between an eau de parfum and an eau de toilette, since their fragrance concentrations differ.
Mistake 5: Pulling the spray stem out without noting which end faces down is easy to do and frustrating to fix. A backward dip tube means the bottle pumps air instead of fragrance.
Mistake 6: Storing the refilled bottle on a sunny windowsill breaks down fragrance compounds faster than almost anything else. UV exposure degrades both the scent and the color of the liquid.
Final Thoughts
The first refill always takes longer than expected. Most of that time is spent figuring out which type of bottle you have and building the confidence to actually start.
After that first time, it is a ten-minute task. Fragrance that would have sat half-empty gets used, bottles worth keeping stay on your shelf, and a $15 set of tools handles every refill from here on out.
For everything on keeping your fragrance in the best condition long term, our complete guide to refilling, storing and maintaining your perfume bottles covers it all.